Before the first engineering example, let's take a look at the acquisition of resources related to the design tool. From the perspective of several FPGA development tools contacted by privileged students, Xilinx should be considered the most user-friendly in this regard, and its design resources are at your fingertips. As shown in Figure 1, when we open the ISE software, the main window will display such a page with an introduction and a guide link. Here we mainly mention its DocumentaTIon.
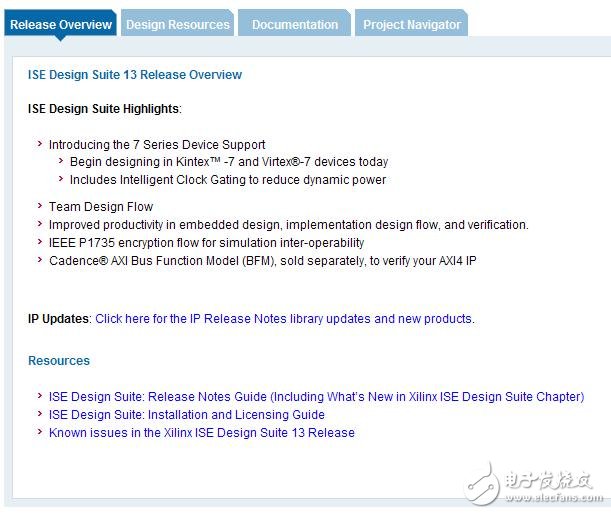
Figure 1 ISE design resource boot interface
Clicking on DocumentaTIon, as shown in Figure 2, actually opens the download page of a client-side gadget, DocumentaTIon Navigator (DocNav for short), of Xilinx. This is a good online browsing tool for Xilinx design documents. It is highly recommended that you download and install.

Figure 2 DocumentaTIon page
As shown in Figure 3, open the home page of DocNav software, you can see all kinds of development-related categorization documents. This gadget makes Xilinx's various documents clear at a glance, which greatly facilitates the designer's request and reading of document resources. Such a large document resource library, I am afraid that it may not be able to read through it for a year and a half. In fact, it is not necessary at all. In general, designers are advised to have an understanding of the basic uses of these documents, and when they encounter some minor design problems, they can be seen in the brain, and think about which document will solve the problem, and then It will be enough to look over it again. Figure 3 D
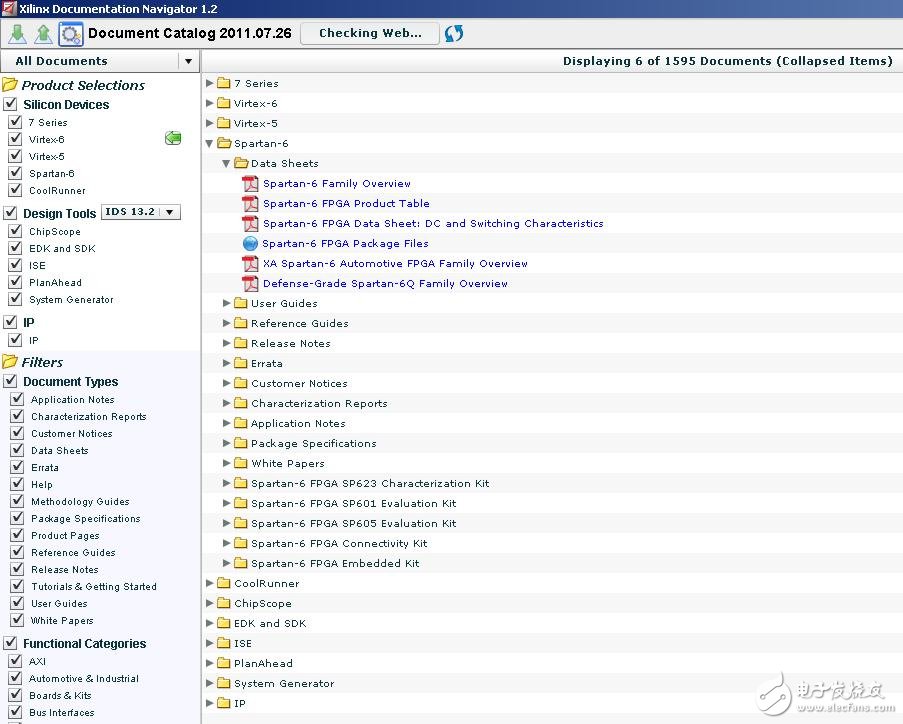
ocNav homepage
In addition, each software has Help, ISE clicks on the menu bar Helpà Help Topics..., as shown in Figure 4. I remember that the privileged classmates in junior year, a microwave class teacher who was considered to be a cow who could not survive the first time, and we mentioned Project for the first time. We also used Matlab to draw the smith chart. At that time, we found out the original English knowledge. There is a flaw in the Help, which is really a big encyclopedia. So pinch, students should make good use of Help this thing, do not know to ask, the easiest and quickest way to ask is Search.
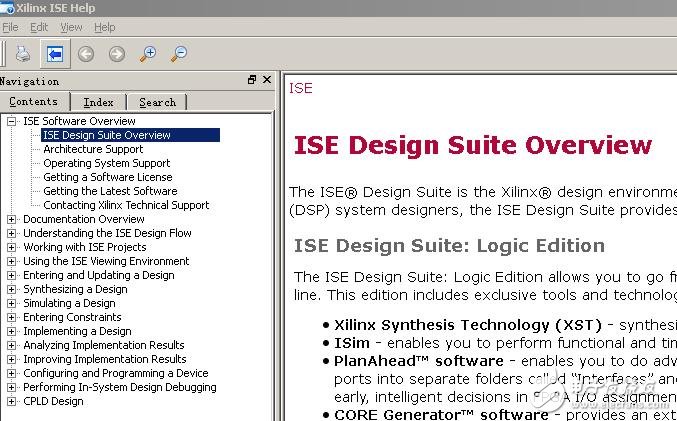
Figure 4 ISE Help page is good, then we have to simply do an example of ISE project, write a small code of the running light to the FPGA to see the effect. Double-click to open the desktop shortcut "Xilinx ISE Design Suite 13.3" and click Fileà New Project... on the menu bar. The new project setting interface shown in Figure 5 appears. Enter the project name and locate the project storage folder location. Click Next to proceed to the next step.
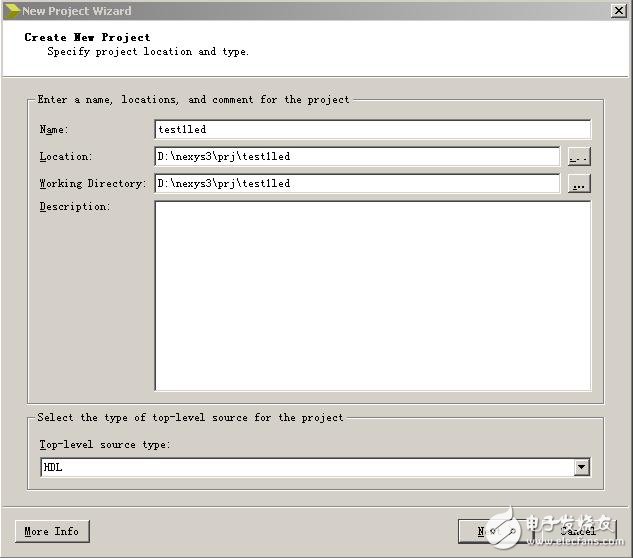
Figure 5 project name and storage settings
The device and engineering properties are set as shown in Figure 6. After setting, then Finish will be completed.
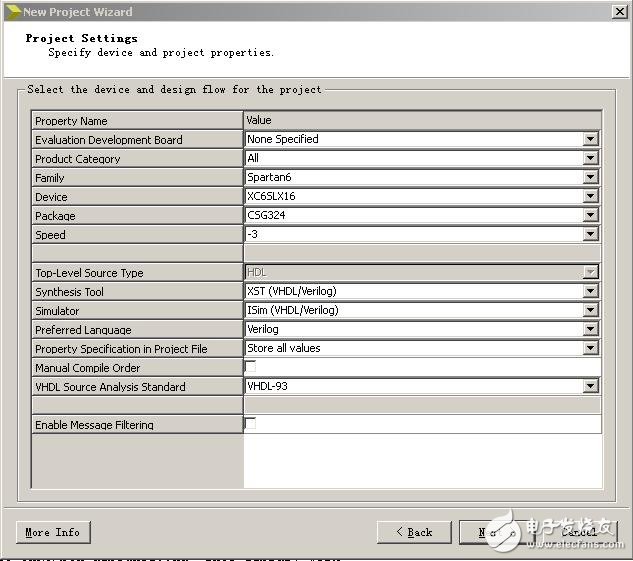
Figure 6 device and project property settings
At this point we look at the left window of the tool, select Design as shown in Figure 7. Under Hierarchy, only the project name and corresponding device display, it can be said that the design file is blank, and it is necessary to come to this pioneer. First, we need to add the source code file to the project.
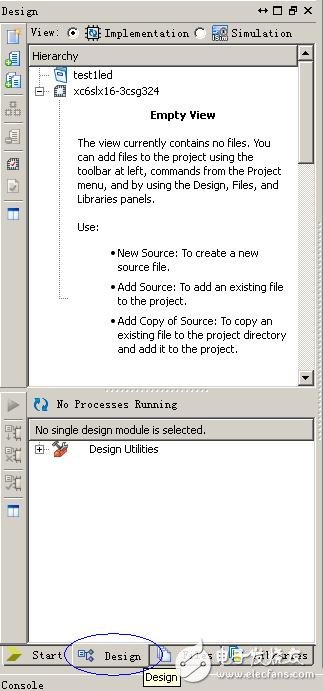
Figure 7 Design window
Right click on New Source... in the blank of the Hierarchy window, as shown in Figure 8. Here you can choose to create a variety of source files, including IP cores, processor-based systems, verilog or VHDL source files, and test scripts. We need to create a new verilog source code file, so choose the Verilog Module and name the module. Usually the top-level code source file name suggestion is the same as the project name, so as to avoid a bunch of troubles.
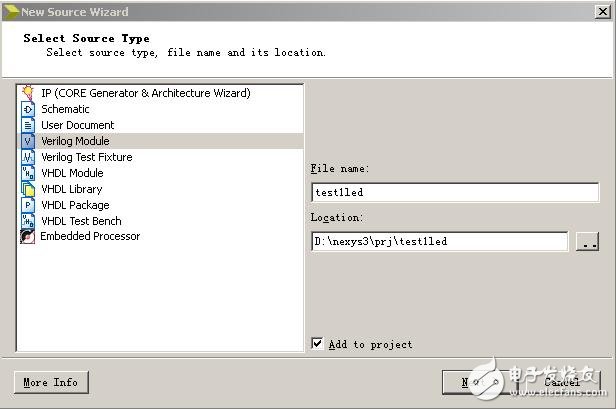
Figure 8 New source file
The newly created source code .v file is automatically added to Hierarchy and the source file is opened directly in the main window as shown in Figure 9.
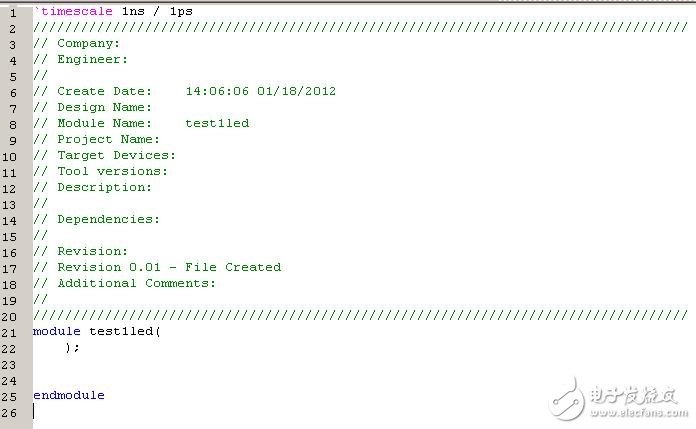
Figure 9 source code file
At this point you need to write a stream of light test code, as shown below: module test1led ( clk, rst_n, led ); input clk; / / 100MHzinput rst_n; / / low level reset signal output [7:0] led; Frequency signal, connected to the buzzer //---------------------------------------- -----------reg[2:0] cnt; //crossing counter always @ (posedge clk or negedge rst_n)//asynchronous reset if(!rst_n) cnt <= 23'd0; else Cnt <= cnt+1'b1; //register cnt loop count ///-------------------------------- -------------------reg[7:0] ledr; //LED water light always @ (posedge clk or negedge rst_n) if(!rst_n) ledr <= 8 'd1; else if(cnt == 23'h7fffff) ledr <= {ledr[6:0], ledr[7]};//about every 8ms let led move left once assign led = ledr; endmodule Next need to The pins are allocated, as shown in Figure 10. In Hierarchy, you need to select the top-level code file testled.v, then double-click User Constraintsà I/O Pin Planning (PlanAhead) – Post-synthesis under Processes (or I/O Pin Planning (PlanAhead). ) – Pre-synthesis, The difference lies in the allocation of those pins if synthesis, and generally does not matter).

Figure 10 PlanAhead startup
Xilinx's tools are really unique. The welcome screen after opening PlanAhead has to let us send out the feeling that "design documents are everywhere." If you want to learn more about the PlanAhead tool, you may wish to take a look at the PlanAhead User Guide listed here.
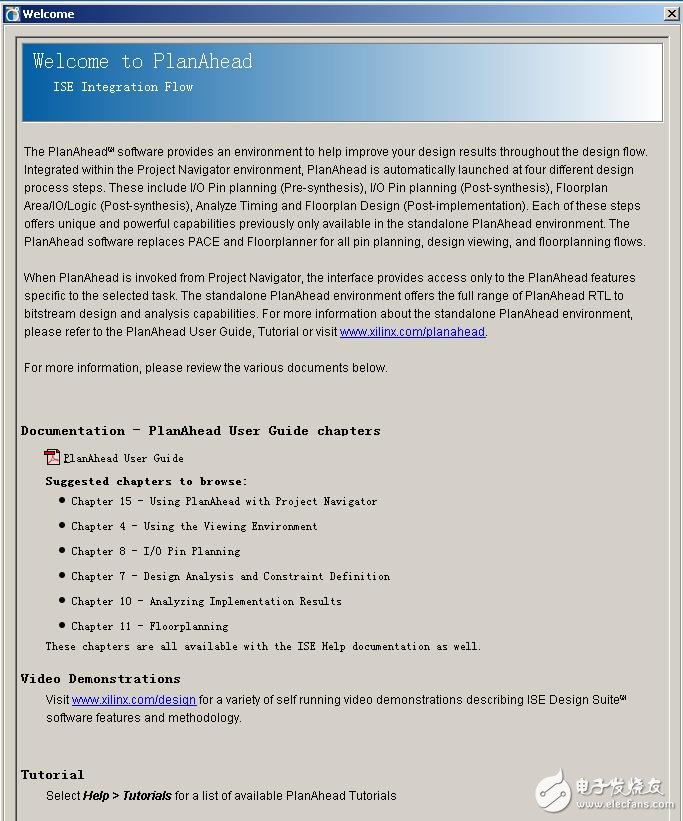
Figure 11 PlanAhead welcome screen
As shown in FIG. 12, the pin of the example is allocated in the I/O Ports of PlanAhead with reference to the schematic diagram NEXYS3_sch.pdf. The rst_n uses the DIP switch SW1. When the board level is verified, pay attention to SW1 to the inside of the board and it is in normal operation. You can exit PlanAhead by saving the settings after the assignment is complete.
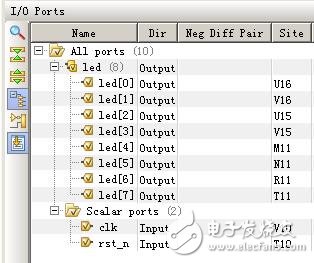
Figure 12 pin assignment
Go back to ISE and double-click on the Generate Programming File under Processes in Figure 10 to compile and generate the .bit download file. Then use the Adept tool mentioned in the previous section to load and burn the test1led.bit file generated under the project folder in the Config function. Then, we can see that the code that is burned into the FPGA device is running. When the SW1 dial switch is on the inside, the 8 running lights run very happy. Reprinted from: privileged classmate's blog
Static Torque Sensor
GALOCE various kinds range of strain gage static torquemeters, allowing to measure in the two directions from ± 0.1 Nm up to ± 5000 Nm with high accuracies (1%). Using standard din flanges. This torque sensors are usually used for measuring tightening torques, verify and calibrate screw driving systems and dynamometric torque wrenches. Click here, if you are interested in Dynamic Torque Sensor.
Static Torque Sensor,Static Torque Transducer,Torque Measurement Sensor,rotary torque sensor
Xi'an Gavin Electronic Technology Co., Ltd , https://www.galoce-meas.com